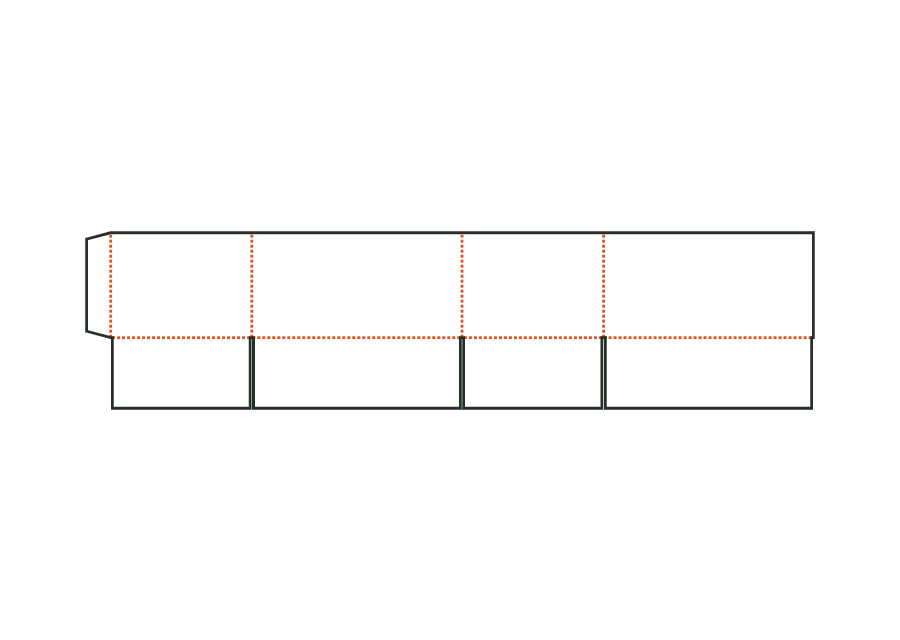
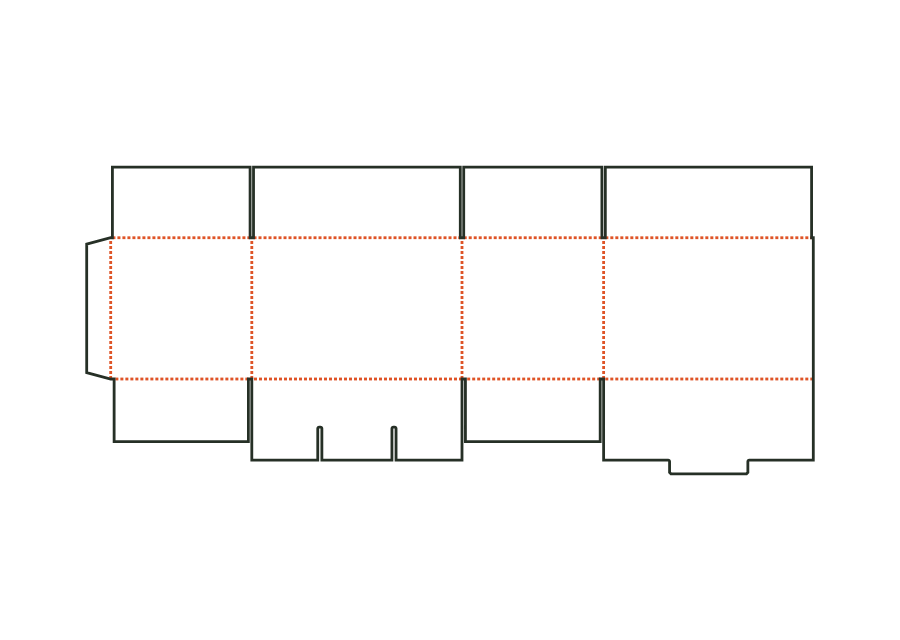
Glue flap
Width of the glue flap used to glue the blank into a tube. The material requires a minimum width.
 JetDieline
Corrugated components and inserts / JETDIELINE
A snap-lock bottom closes this corrugated box without tape at the bottom. The top can be chosen separately: meeting flaps, fully overlapping flaps or open.
Drag to rotate
03 / BOX
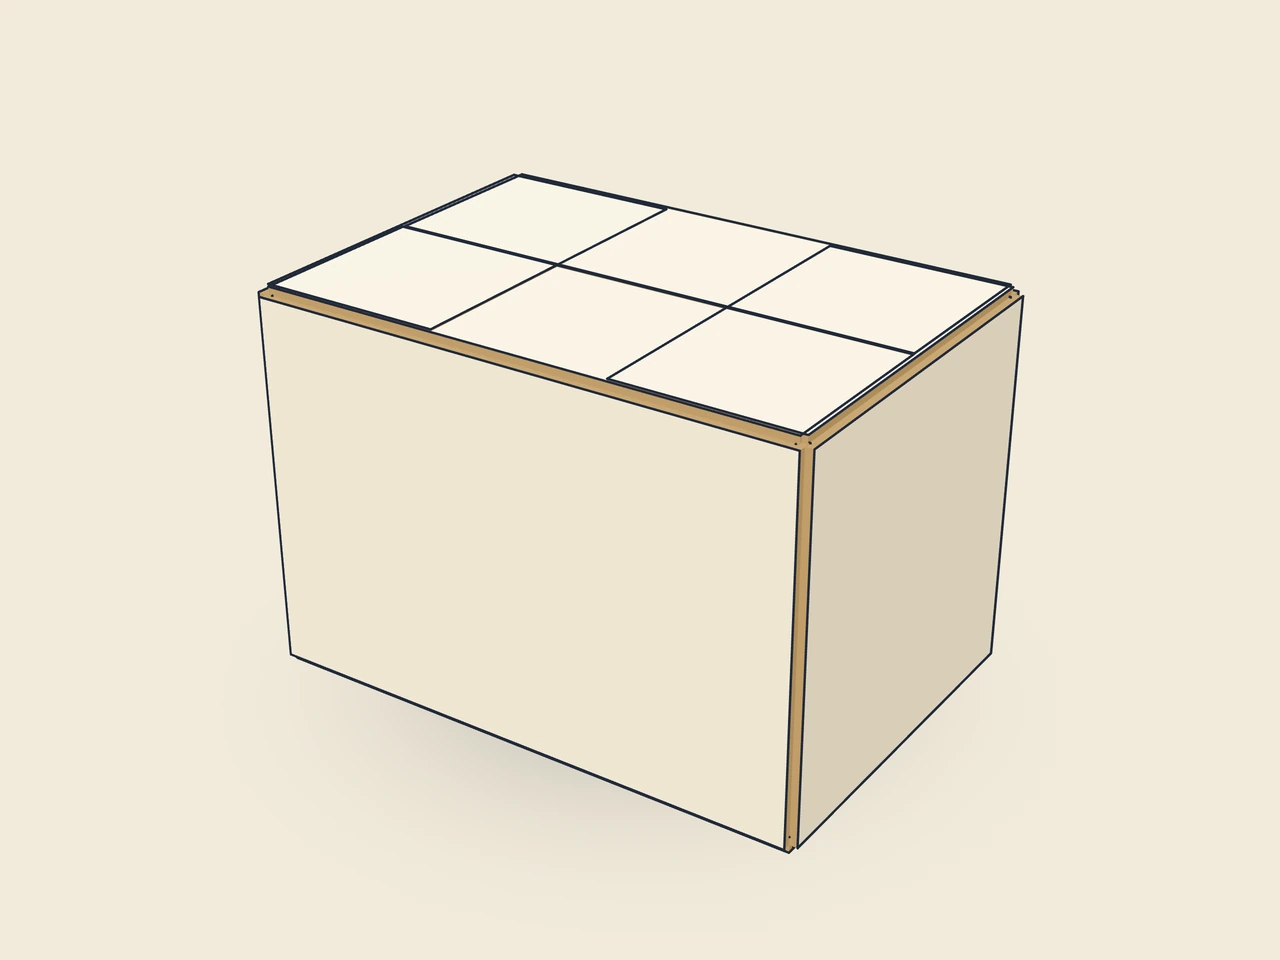
Simplified display model without material thickness, not to scale.
The 3D view is not available in this browser. The image shows the folded shape.
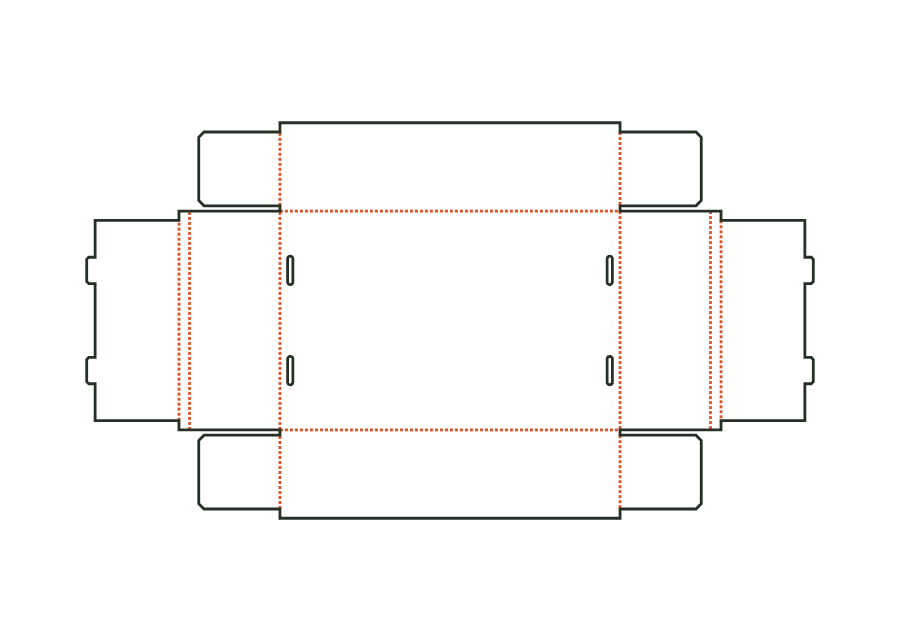
corrugated.rsc.mixedThe side seam is glued. At the bottom, short side flaps, a long tongue flap and a long locking tab flap interlock. The tab is inserted under the tongue. flapOverlap and noseLength change this closure; topClosure controls only the top.
Glue the glue flap and flatten the box. To erect, fold in the bottom side flaps, place the tongue flap over them and close the locking tab flap, inserting the tab under the tongue. After filling, close and tape the lid flaps.
Grain direction parallel to height (check)
Test fit, folding and closure on a sample made from the intended material. Confirm material thickness, grain direction and production steps with your printer.
Inside dimension
These dimensions describe the preview, not a fixed packaging size. The app recalculates the dieline for your own dimensions.
Width of the glue flap used to glue the blank into a tube. The material requires a minimum width.
Bevel at the ends of the glue flap; aids folding and erection.
Gap between adjacent flaps or walls; at least approximately material thickness.
Top closure: flaps as on a regular slotted container, fully overlapping outer flaps or open.
Overlap of flaps 3 and 4 outside the closure.
No. The glue flap is glued to form the side seam. Only the snap-lock bottom is closed without tape during erection. For meeting lid flaps, the assembly instructions specify taping at the top after filling. Distinguish side seam, bottom and lid when discussing the process with your production partner.
First fold the short side flaps inwards. Place the long tongue flap over them, then close the locking tab flap. The tab engages under the tongue. Check on a marked sample that it inserts without tearing and that the bottom stays closed after filling.
noseLength has a general range of 10–60 mm. The tab must also fit into the bottom opening; noseLength.fitsOpening checks this against the geometry. The starting value is 20 mm. More length does not automatically improve the closure. Adjust overlap and tab together and test insertion.
Find the right packaging shape and fit it to your product
Design the artwork directly on the real dieline
Spot problems before you pass on files
Files your printer can trace
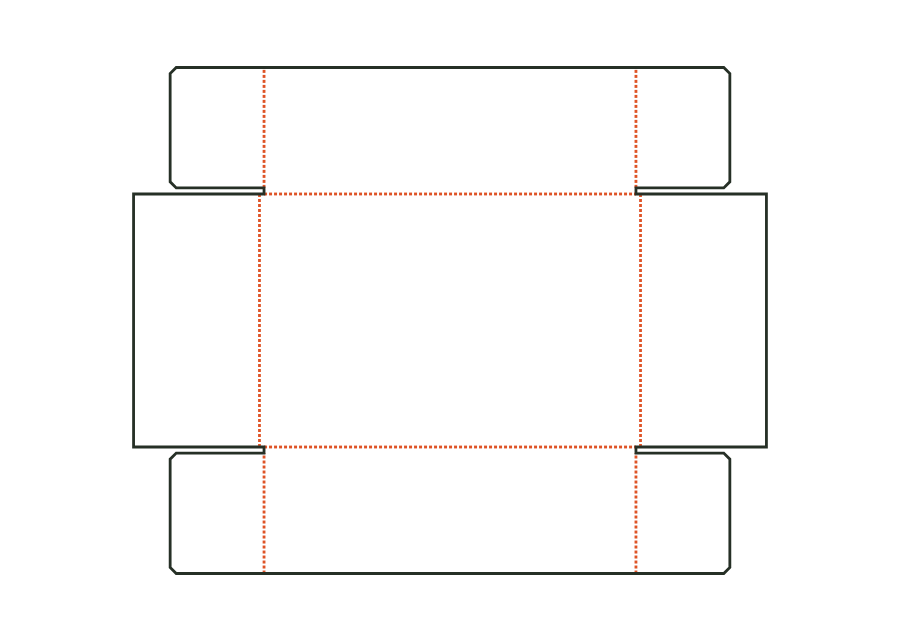
An open corrugated tray with double end walls and interlocking corners. The blank is erected without adhesive; this page shows the custom V2 construction with B flute.
corrugated.trayView templateBase and lid form a two-piece corrugated construction with glued corner flaps. Both components have their own dieline; the lid is derived from the base's outside dimension and clearance on each side.
corrugated.telescope.baseView templateFour walls with a glue flap and bottom flaps, open top: the half slotted container can be used as a shelf box or base. Our own parametric construction calculates only this open box body.
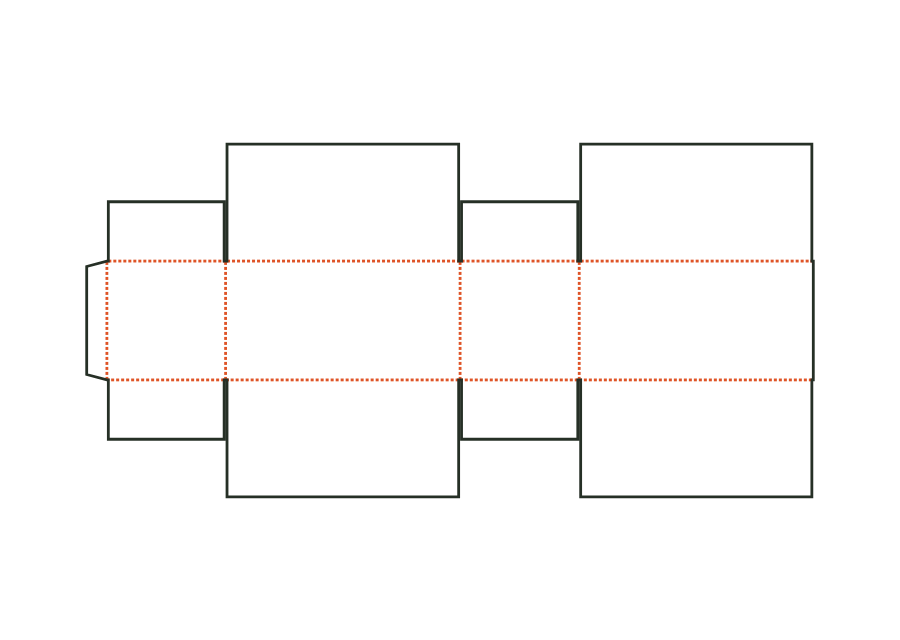
corrugated.halfslottedView templateThe outer flaps each cover the entire opening at the top and bottom and lie on top of each other. Our own corrugated construction calculates full coverage rather than just a narrow overlap strip.
corrugated.rsc.fulloverlapView templateWith JetDieline, choose a suitable template, adjust its size, and place text, logos, and images directly on your packaging.
Try your dimensions