Glue flap
Width of the glued side or longitudinal seam. The material profile requires a minimum width.
 JetDieline
Cylinders and bags / JETDIELINE
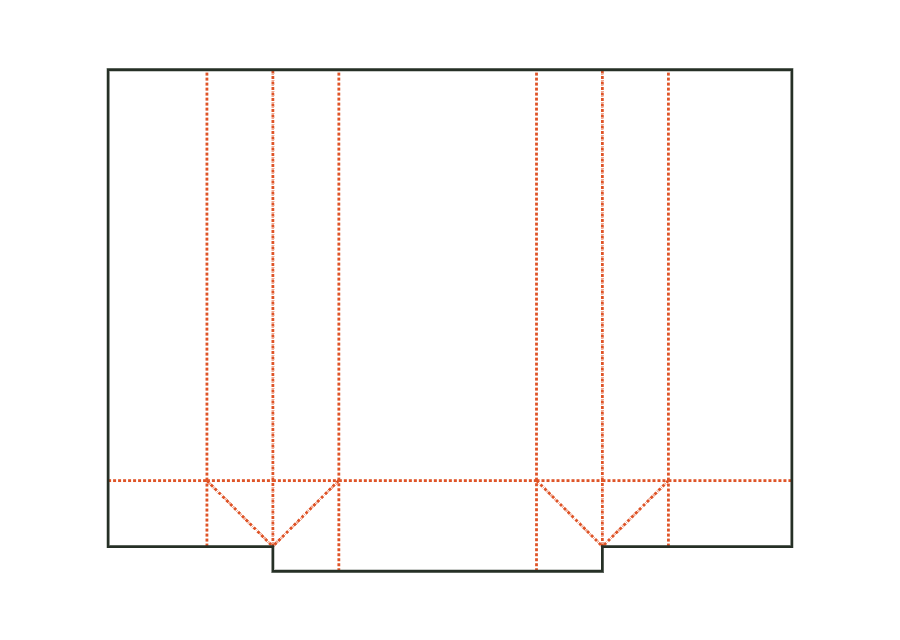
The side-gusset bag has a glued longitudinal seam and a block bottom formed by flaps, ears and triangles. You set bag width, gusset depth and height. The inside dimension shown is converted to crease-to-crease dimensions using the material profile; the flat dieline also includes the bottom overlap.
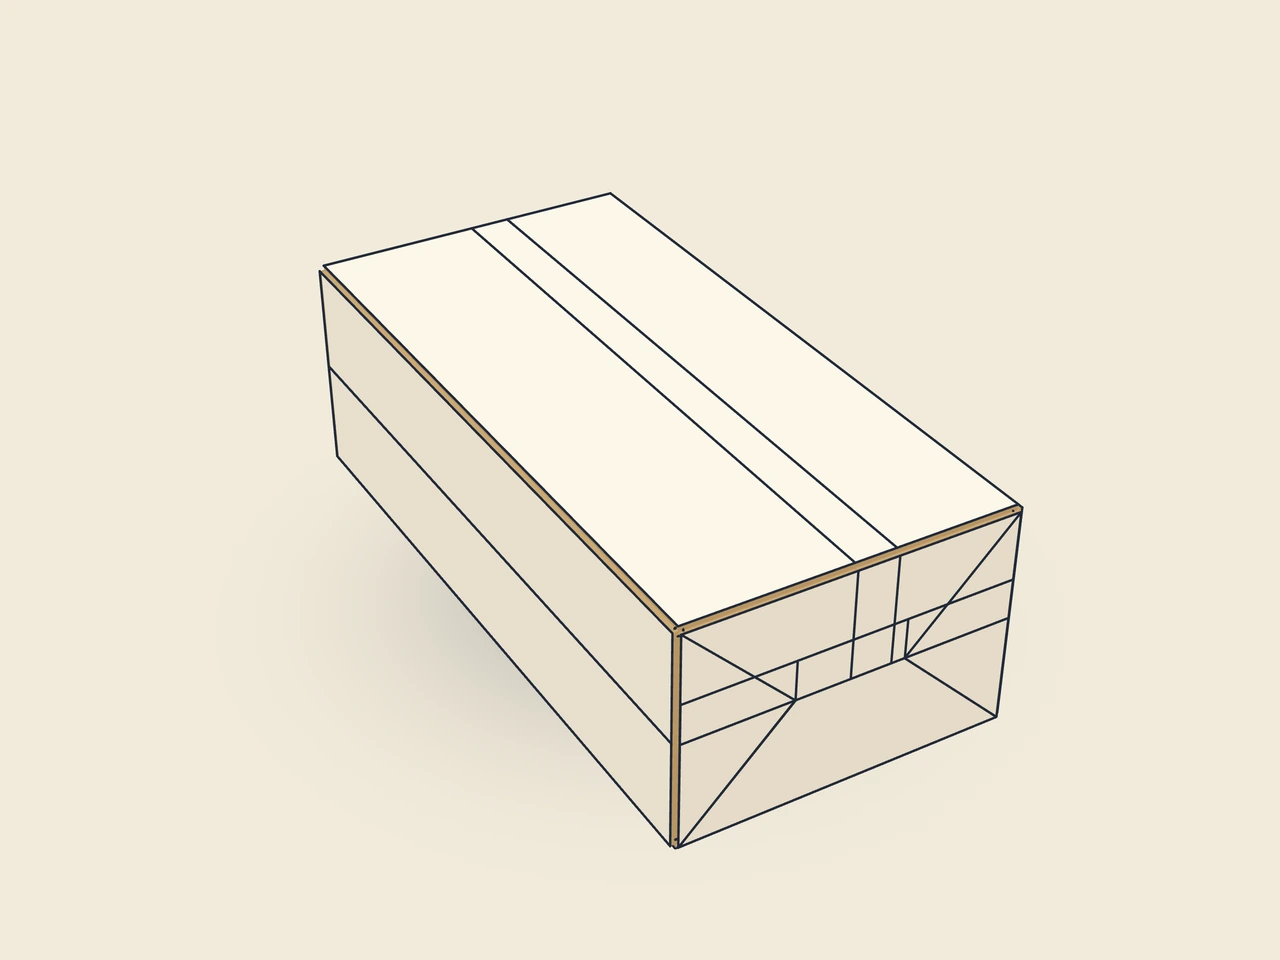
Drag to rotate
03 / BOX
Simplified display model without material thickness, not to scale.
The 3D view is not available in this browser. The image shows the folded shape.
bag.gussetThe wall sequence forms a tube with two side gussets and a longitudinal seam on the back. Centre creases allow it to be laid flat. Bottom triangles and diagonally folded ears guide the flaps into the block bottom. The front flap has the additional glue overlap; it is closed after the rear flaps.
Glue the longitudinal seam to form a tube. Fold the bottom triangles inwards, fold the ears along the diagonals onto the bottom flaps, fold over the rear flaps first and then the front bottom flap and glue the overlap. To lay flat, fold the side gussets inwards along the centre creases.
Test fit, folding and closure on a sample made from the intended material. Confirm material thickness, grain direction and production steps with your printer.
Inside dimension
These dimensions describe the preview, not a fixed packaging size. The app recalculates the dieline for your own dimensions.
Width of the glued side or longitudinal seam. The material profile requires a minimum width.
Glue overlap of the front bottom flap over the rear bottom flaps; no more than 40 % of the gusset depth.
The front bottom flap adds a glue overlap to half the gusset depth. The parameter rule limits this addition to 40 % of the gusset depth. An unchanged large overlap may therefore become invalid for a narrower bag. Adjust the parameters together and check that flaps and ears sit cleanly on the real block bottom.
First glue the longitudinal seam to form a tube. Fold the bottom triangles inwards and fold the ears along their diagonal creases onto the bottom flaps. Then close the rear flaps followed by the front bottom flap; glue the overlap. The side gussets then allow the bag to be laid flat. Test this sequence with the target paper.
Recalculate the bag with the new dimensions. The model converts the chosen dimension reference to crease-to-crease dimensions using the material profile; seam width and bottom overlap are separate parameters. Proportional scaling in graphics software would also change these functional areas. After recalculation, check the block bottom, flat state and seam strength on a new sample.
Find the right packaging shape and fit it to your product
Design the artwork directly on the real dieline
Spot problems before you pass on files
Files your printer can trace
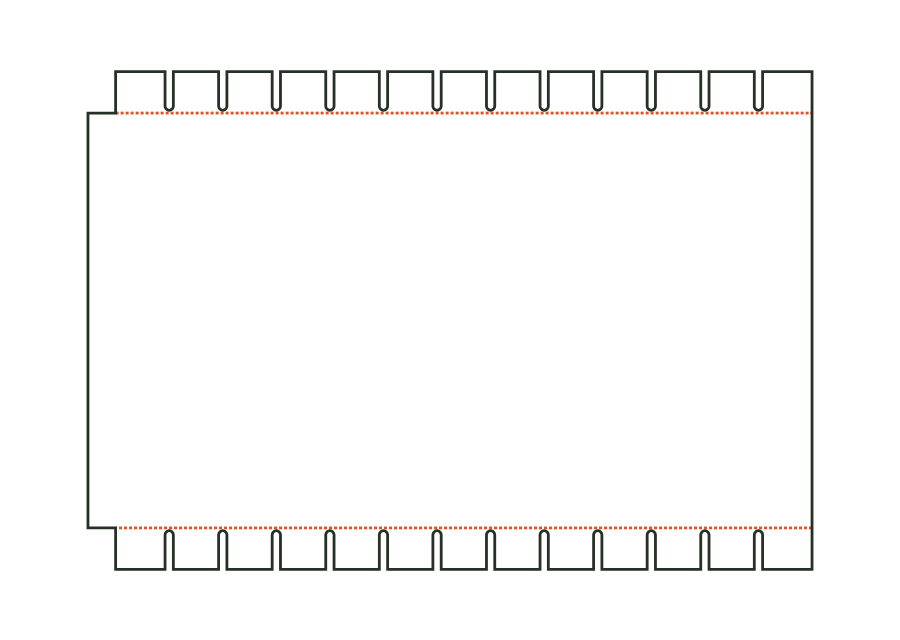
Calculate the wrap from diameter or circumference, height and overlap. For a cardboard tube, slit turn-ins are added; for a can, you can disable both. The drawing shows the blank with starting values, not a finished can or confirmed fit.
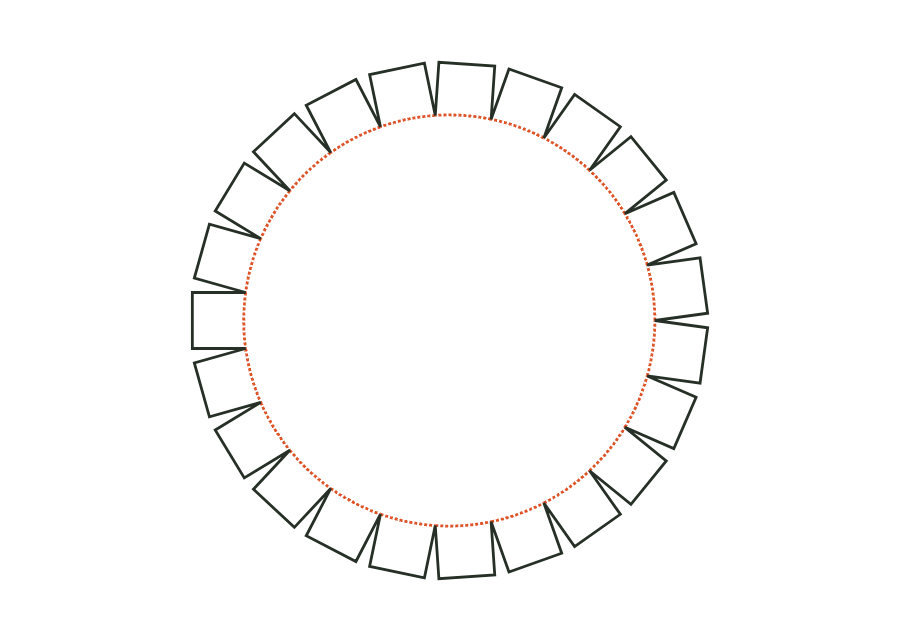
tube.wrapView templateThe lid or base disc has glue flaps around a circular crease line. The starting dimension is the cylindrical wall's inside diameter, together with its height. The parametric dieline shows the disc as an individual component; check a matching wall and assembly separately.
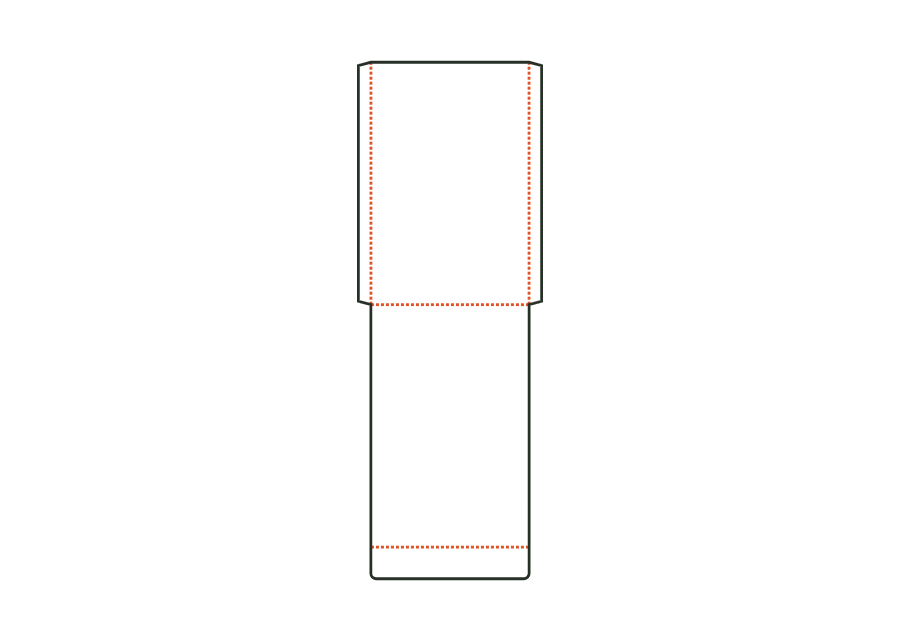
tube.discView templateThe flat bag is formed from front and back with two glued side seams and a bottom fold. Enter bag width and height as outside dimensions. An optional flap on the back closes the opening; the dieline shows its effect on the paper blank.
bag.flatView templateWith JetDieline, choose a suitable template, adjust its size, and place text, logos, and images directly on your packaging.
Try your dimensions