Glue flap
Width of the glue flap used to glue the blank into a tube. The material requires a minimum width.
 JetDieline
Folding cartons / JETDIELINE
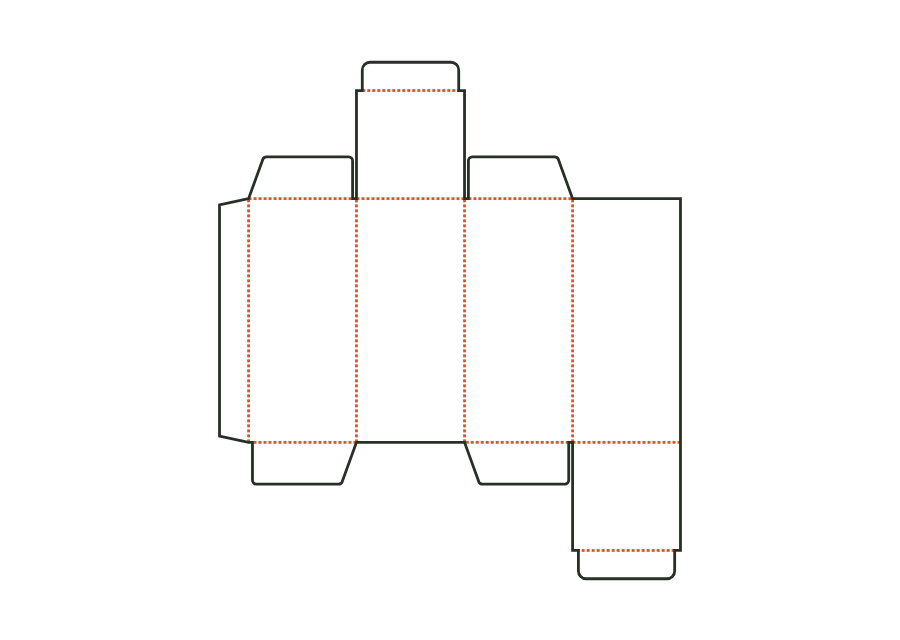
The top tuck flap sits on the front, the bottom one on the back. The reverse tuck-end carton calculates its walls, dust flaps and closures from the inside dimension. The dieline shown comes from version 3 with the hanging hole disabled; artwork, production dieline and report can be exported together in the technical core.
Drag to rotate
03 / BOX
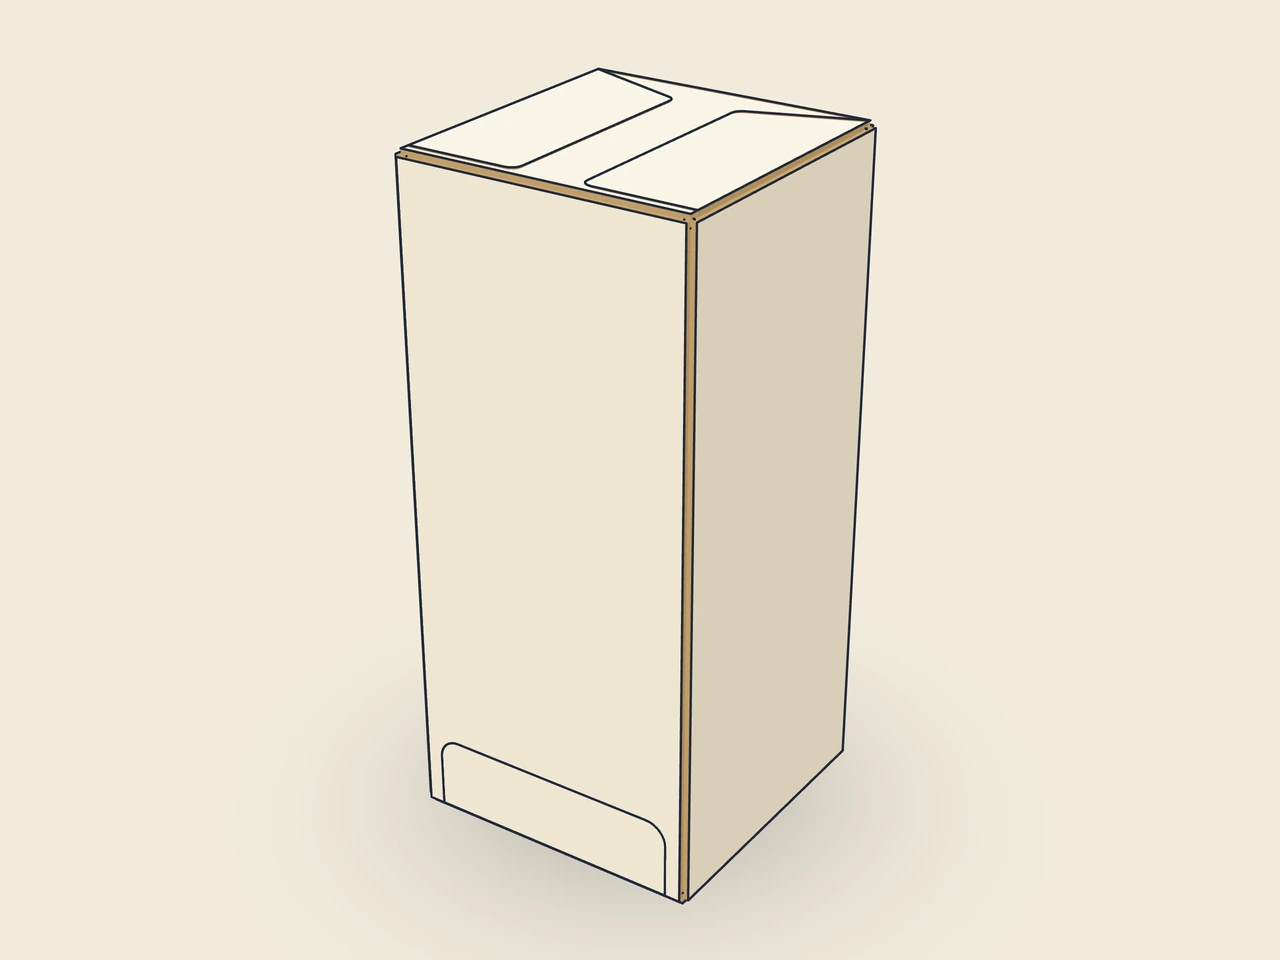
Simplified display model without material thickness, not to scale.
The 3D view is not available in this browser. The image shows the folded shape.
carton.tuckend.reverseGlue flap, left side, front, right side and back form the body. Unlike the straight variant, the bottom tucks in from the back. The dust flaps close from the sides beneath the tuck flaps. This changes bottom layout and artwork reading direction; the layout does not promise lower material consumption.
Pre-break the blank along all creases. Glue the glue flap to the inside of the opposite wall and lay the carton flat. For filling, erect it, fold in the dust flaps and insert the tuck flaps from front and back.
Grain direction parallel to the height: the wall creases run along the grain and fold cleanly (check with the test printer).
Test fit, folding and closure on a sample made from the intended material. Confirm material thickness, grain direction and production steps with your printer.
Inside dimension
These dimensions describe the preview, not a fixed packaging size. The app recalculates the dieline for your own dimensions.
Width of the glue flap used to glue the blank into a tube. The material requires a minimum width.
Angled ends of the glue flap; make folding and erection easier.
How far the tuck flap extends into the box; at most about half the width (the height for a mailer).
Corner radius of the tuck flap; limited by half the flap width or tuck depth.
Side inset of the tuck flap relative to the lid, to allow easy insertion.
It sits on the back; the upper one remains on the front. The closures therefore tuck in from opposite walls. For artwork, examine the bottom panel and its reading direction on the erected sample. A printed design for the straight variant cannot therefore be transferred to the reverse layout without checking.
V2 and V3 include dustFlapRelief. This distance separates dust flap and lid along the crease and must match material thickness and the machine minimum. Do not reduce it simply to pack the outline more tightly. Check the relief during pre-breaking and folding in the lower flaps with the final board.
No. Version 3 starts with hangHole=none. Only another choice creates the header on the back and the corresponding cut-out. Width, height or diameter depend on the hole shape. Check the remaining bridges and actual hanging on a sample; the export does not confirm load capacity.
Find the right packaging shape and fit it to your product
Design the artwork directly on the real dieline
Spot problems before you pass on files
Files your printer can trace
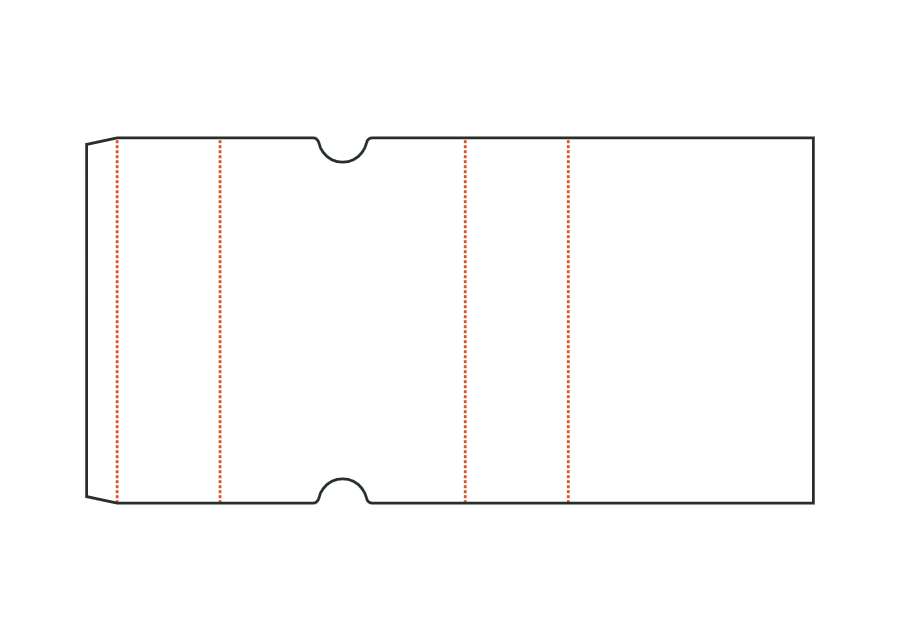
The sleeve surrounds a product with four walls and remains open at both ends. Length and width describe the cross-section; height describes the sleeve length. The dieline shows version 1 with finger notches on the front. Material thickness, glue flap and notch position remain part of the calculation rather than simple scaling.
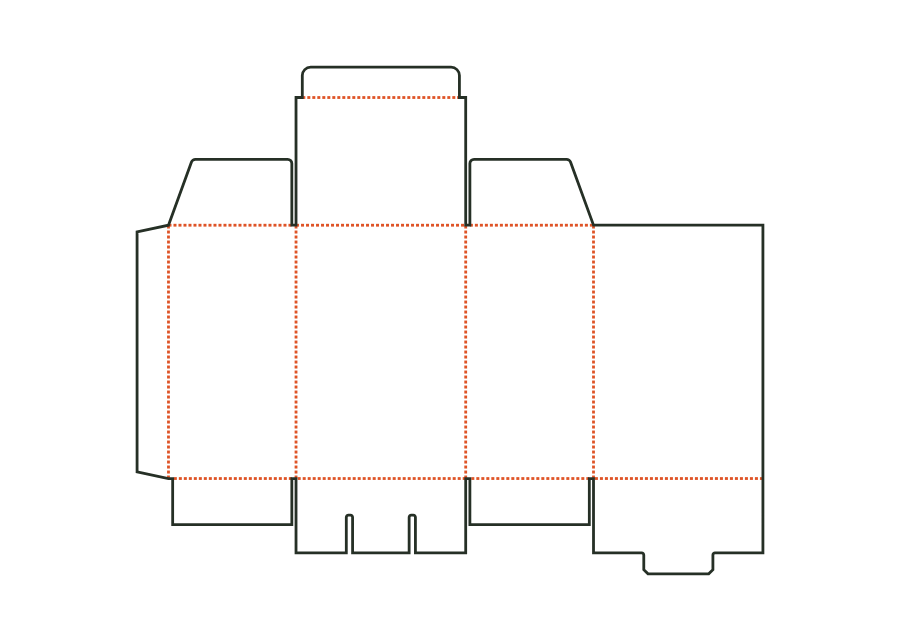
carton.sleeveView templateThe snap-lock bottom closes with four interlocking flaps. Two side flaps sit inside; a nose on the back tucks under the front flap's tongue. Version 1 combines this bottom with a tuck lid. The calculation example uses folding carton board 400 g/m² and shows the flat dieline with creases and bottom cuts.
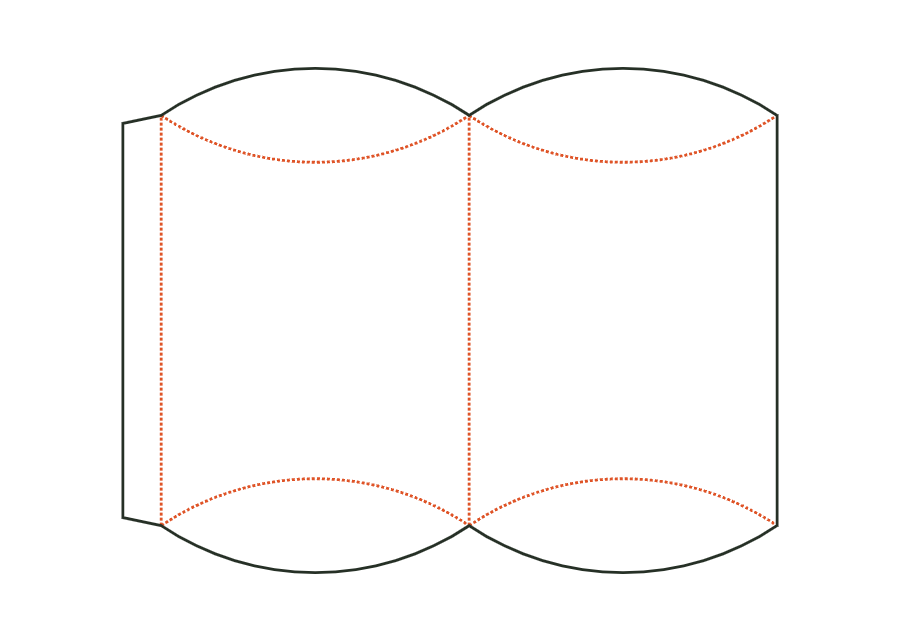
carton.snaplockView templateThe pillow box bows two wall panels between lens-shaped end flaps. Curved creases form the closure instead of straight lid creases. In version 1, the inputs mean width × thickness × length of the packaging. The dieline shown accounts for these proportions and the starting material; it does not define a rectangular box interior.
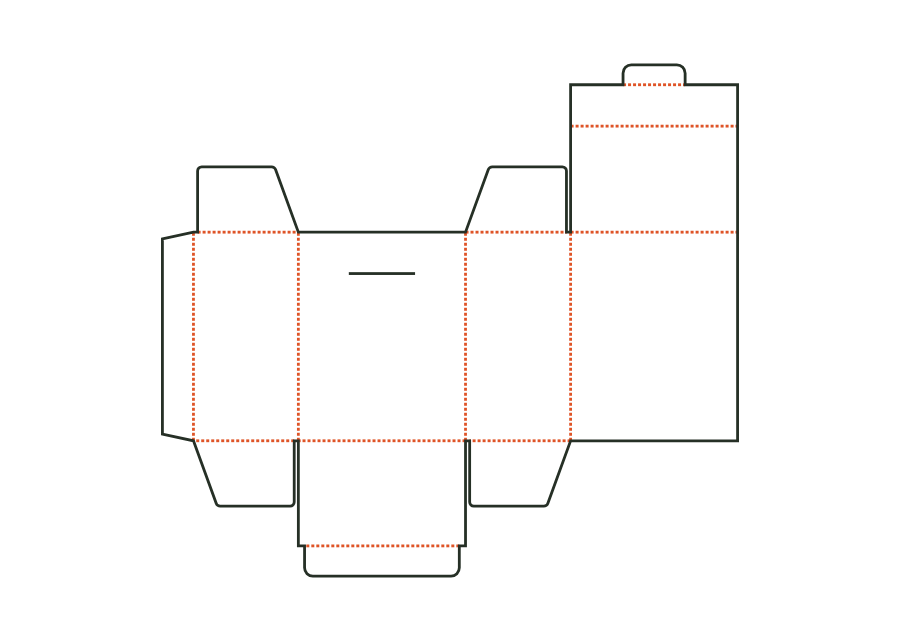
carton.pillowView templateThe hinged lid sits on the back wall and places its front wall over the outside of the front. A lid tab passes through a slot in the front; a tuck bottom closes the base. This page shows version 2 with the hanging hole disabled. The technical core calculates lid overhang, flaps and creases from the chosen dimensions and material profile.
carton.hinged.lidView templateWith JetDieline, choose a suitable template, adjust its size, and place text, logos, and images directly on your packaging.
Try your dimensions Download on the Mac App Store