Back wall height above the side walls
Back wall header above side wall height; advertising area of the display.
 JetDieline
Trays and displays / JETDIELINE
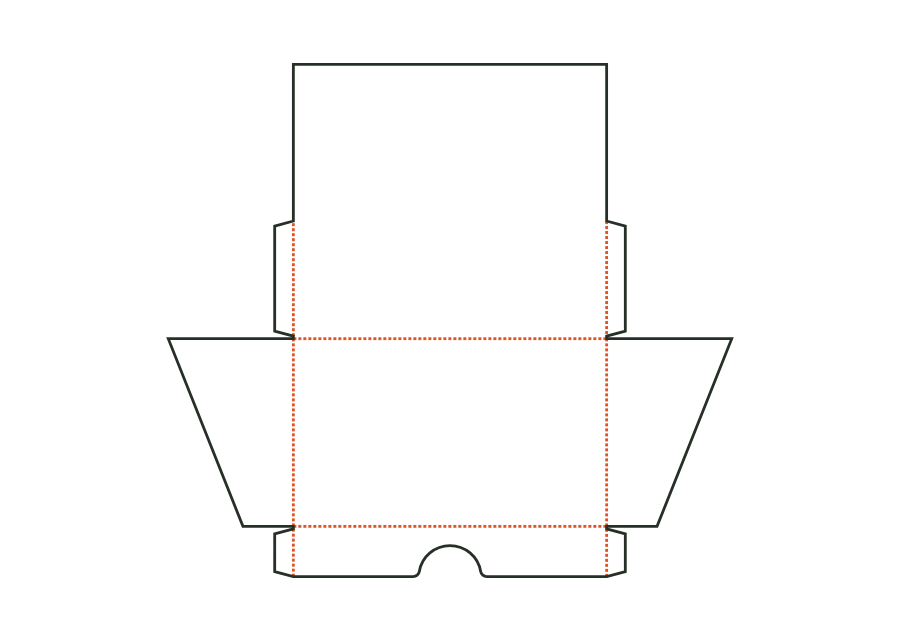
Open countertop display: low front wall with a finger recess, tall back wall with an advertising area, and sloping side walls; corners are glued inside with corner glue flaps as on the tray.

Drag to rotate
03 / BOX
Simplified display model without material thickness, not to scale.
The 3D view is not available in this browser. The image shows the folded shape.
carton.display.counterA bottom connects the low front wall, the tall back wall with header, and trapezoidal side walls. Corner glue flaps join the walls. The optional front cutout makes access to the goods easier.
Erect the front and back walls, fold the corner glue flaps inward, and apply adhesive to their outside. Erect the side walls and press against the flaps. Insert the goods; the back wall displays the advertising area.
Test fit, folding and closure on a sample made from the intended material. Confirm material thickness, grain direction and production steps with your printer.
Inside dimension
These dimensions describe the preview, not a fixed packaging size. The app recalculates the dieline for your own dimensions.
Back wall header above side wall height; advertising area of the display.
Inside height of the front wall; the side walls rise from it to the height at the back wall.
Round finger recess centered in the front wall's top edge for easy removal of goods.
Radius and depth of the finger recess; a web remains above the bottom and toward the corners.
Width of the glue flaps at the ends of the front and back walls, glued to the inside of the end walls. The material requires a minimum width; the flaps from both sides must not meet on the end wall.
The third input is the construction's base height. The low front wall has its own parameter, as does back wall height above the side walls. The header is therefore not simply the third input. In the initial run, base height is 100 mm, front wall height 40 mm, and additional back wall height 120 mm.
Front and back walls have corner glue flaps. The side walls are pressed against the flaps with adhesive applied. There is no locking closure as on the tray with locking corners. Glue flap width and bevel must suit the wall and gap. Check erection and curing with the intended adhesive before loading the display with goods.
The frontCutout switch starts enabled and can be disabled. The radius is only needed for an active cutout. With the cutout enabled, its width and depth must fit the front wall. A geometrically permitted radius describes no removal force; test access with the actual product and its packing arrangement.
Find the right packaging shape and fit it to your product
Design the artwork directly on the real dieline
See problems before you pass on files
Files your printer can follow
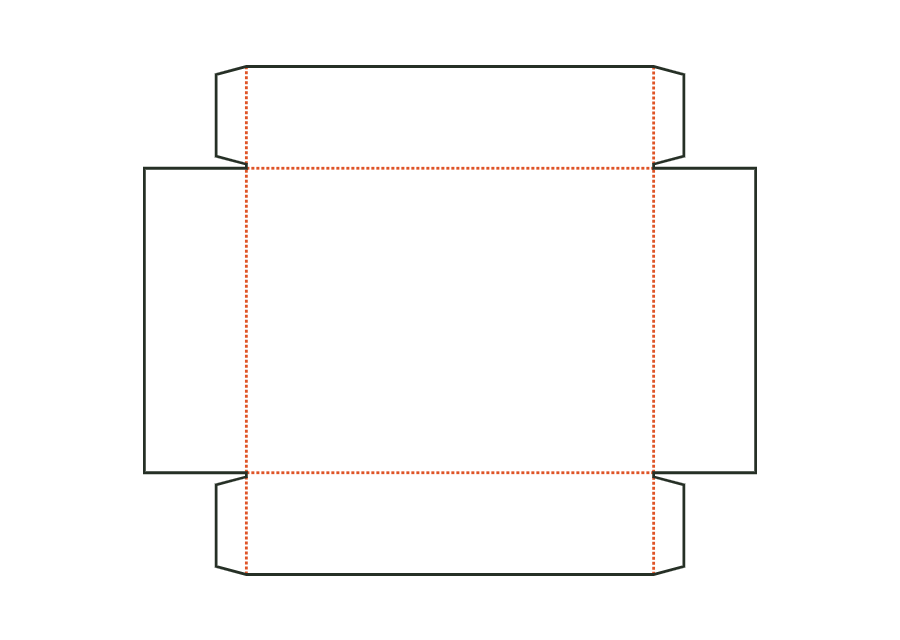
A base, four walls, and glued corners form the open folding tray. This page shows V2 with an optional window; the window remains disabled in the starting example.
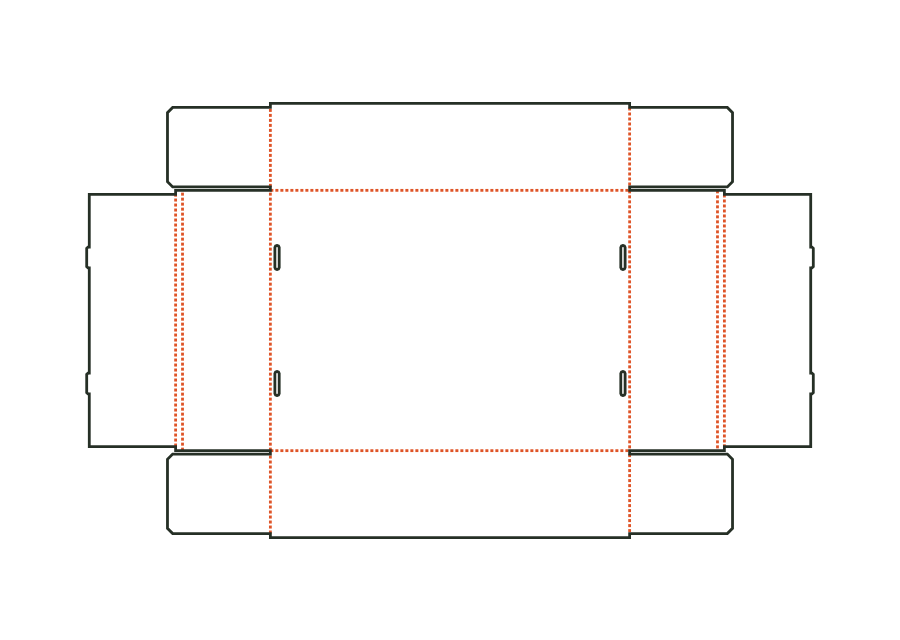
carton.tray.gluedView templateUnglued folding carton board tray: front and back walls with corner flaps, double end walls with a rollover; tabs on the inner wall tuck into slots in the bottom.
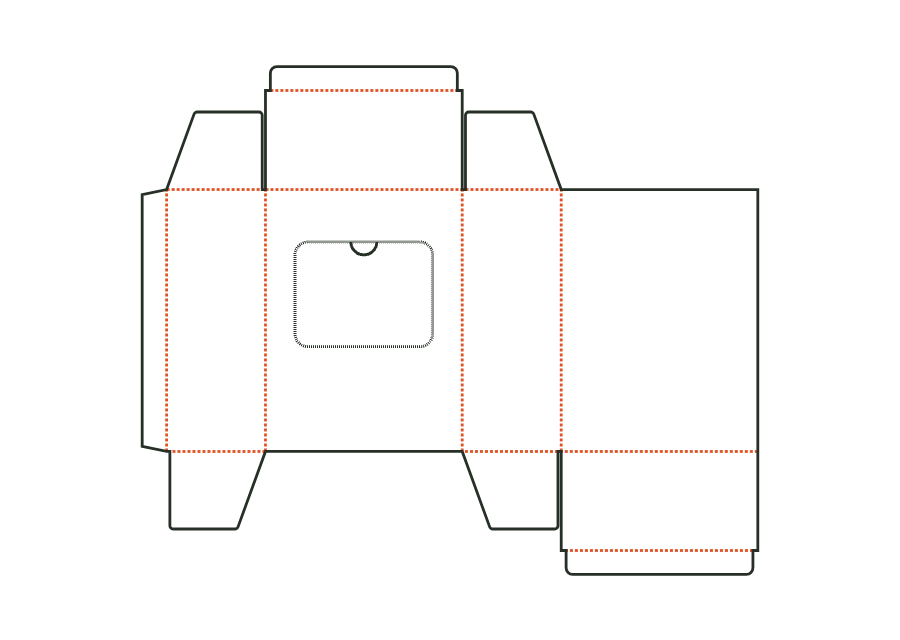
carton.tray.lockedView templateReverse tuck end carton with a perforated tear-open window in the front and a thumb notch as an opening tab; after opening, contents are removed individually.
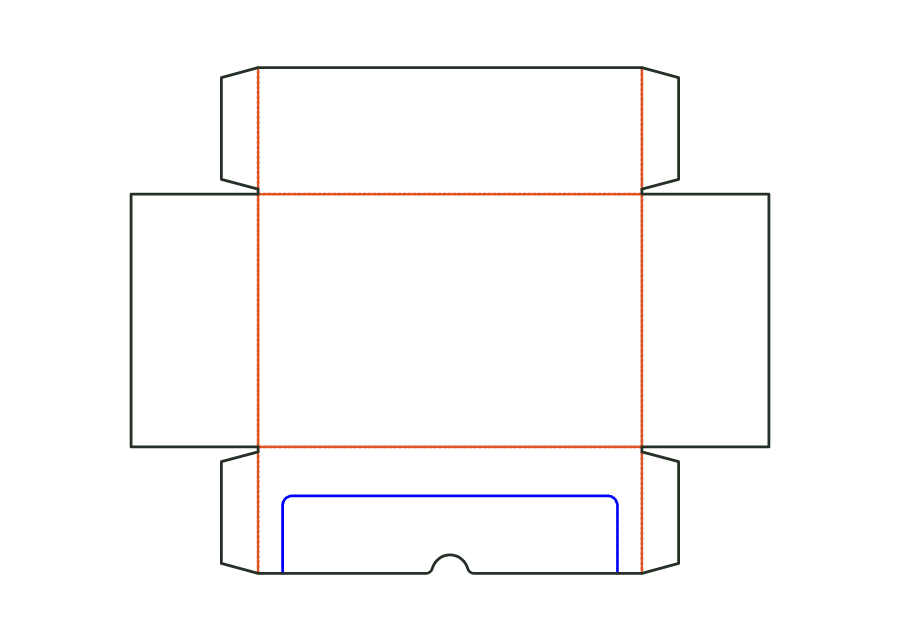
carton.dispenserView templateShipping and shelf packaging in one: tray with four walls of equal height and glued corners, a U-shaped tear-off perforation with a thumb notch in the front wall. After tearing off, a low front and side lands remain; optional header on the back wall (straight, rounded or arched). Starting material B-flute.
carton.display.shelfView templateWith JetDieline, choose a suitable template, adjust its size, and place text, logos, and images directly on your packaging.
Try your dimensions