Greyboard thickness
Thickness of the greyboard around which the wrap is folded; the assembly sets it from the greyboard material.
 JetDieline
Rigid boxes / JETDIELINE
Lining paper for the inside of the case, smaller by the margin all around; covers the turn-ins and the flap's magnet.
Drag to rotate
03 / BOX
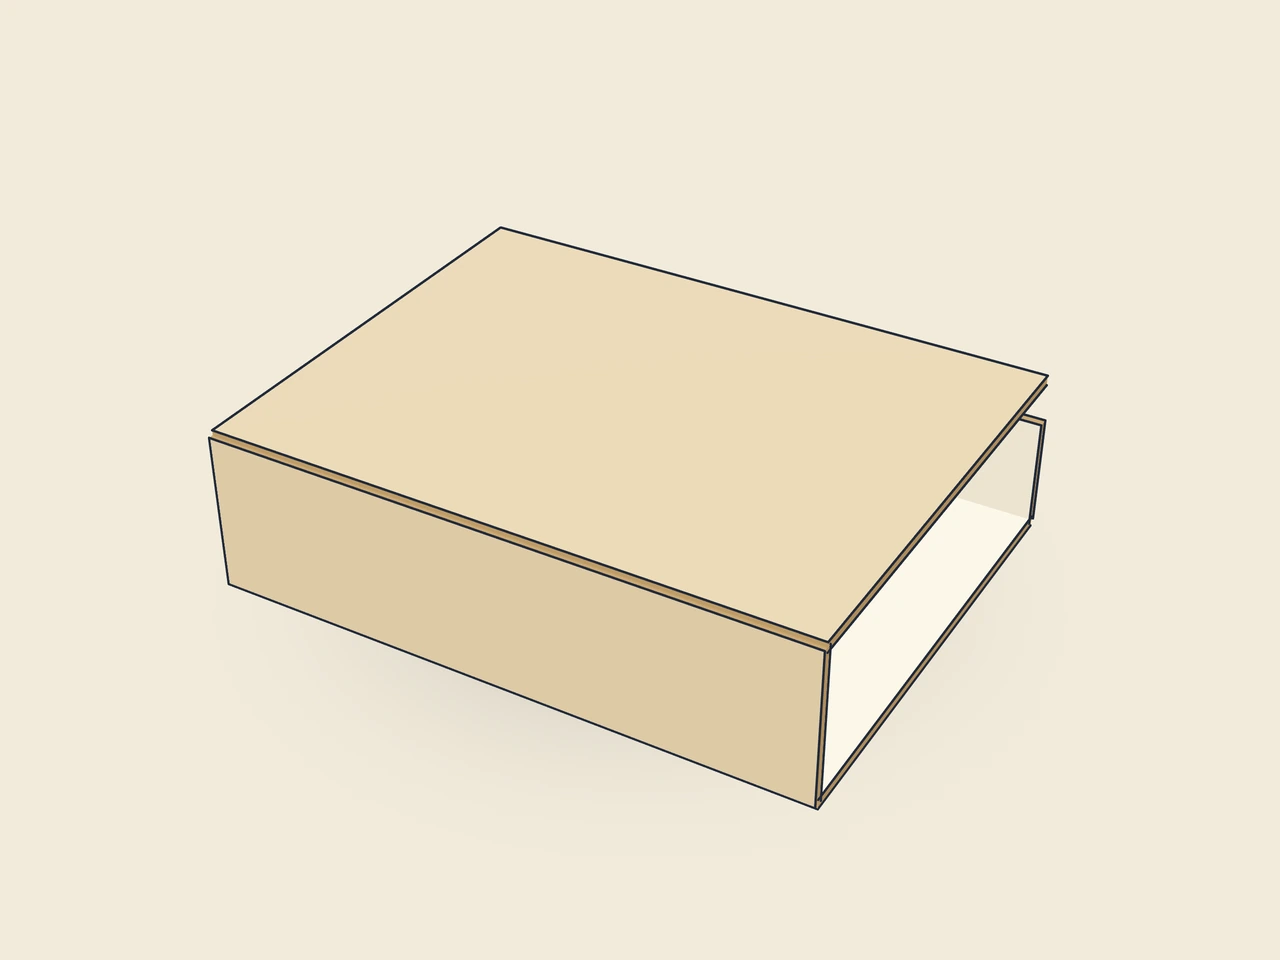
Simplified display model without material thickness, not to scale.
The 3D view is not available in this browser. The image shows the folded shape.
rigid.magnetic.cover.liningThis template is a component of a packaging assembly. Match its dimensions to the other parts; lids, bases, wraps and linings serve different purposes.
Apply glue over the entire lining and center it on the inside of the flat, wrapped case, leaving the margin clear all around; press firmly into the hinges.
Grain direction of greyboard and wrapping paper parallel to the x-axis of the blank: the long grooves fold cleanly, and board and paper do not warp against each other during wrapping (check with the rigid box manufacturer).
Test fit, folding and closure on a sample made from the intended material. Confirm material thickness, grain direction and production steps with your printer.
Compare opening and presentation: pillow shapes, bands, drawers or lift-off lids. Plan the fit of contents and inserts and allow clearance between moving parts.
Inside dimension
These dimensions describe the preview, not a fixed packaging size. The app recalculates the dieline for your own dimensions.
Thickness of the greyboard around which the wrap is folded; the assembly sets it from the greyboard material.
Inside height of the front flap from the inside of the lid to the free edge.
The case spine is taller than the interior by this value; the lid closes with some clearance above the tray.
Case overhang beyond the wrapped tray on the left and right.
Distance from the lining to the case edge; the wrap remains visible as a border.
The inside lining covers the case wrap's turn-ins and the magnet in the flap. It is smaller than the case all around; liningMargin starts at 3 mm. Its hinge lines follow the case. Check glue application and movement on the sample so the lining neither strains nor blocks the hinges when closing.
The individual part's starting value is a disc magnet with a 10 mm diameter. The model creates a 10.5-mm recess in the tray's front wall and flap. Diameter and position are construction values. A fitting opening determines neither magnet thickness within the material nor holding force or polarity. Confirm the magnet, flush installation, and adhesive with the rigid box manufacturer carrying out the work.
25 mm is the parameter default for the individually calculated tray template and belongs to the existing preview. The assembly overrides it to match the flap; in the starting case, with 22.8 mm. This distinction matters for assembly. Do not transfer independently calculated magnet positions into a finished assembly without checking their alignment.
Find the right packaging shape and fit it to your product
Design the artwork directly on the real dieline
See problems before you pass on files
Files your printer can follow
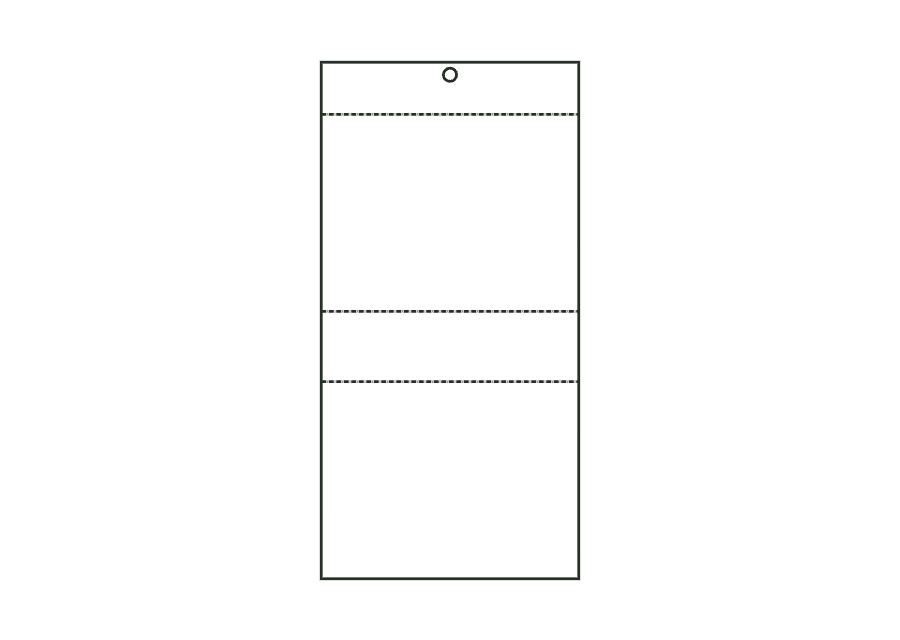
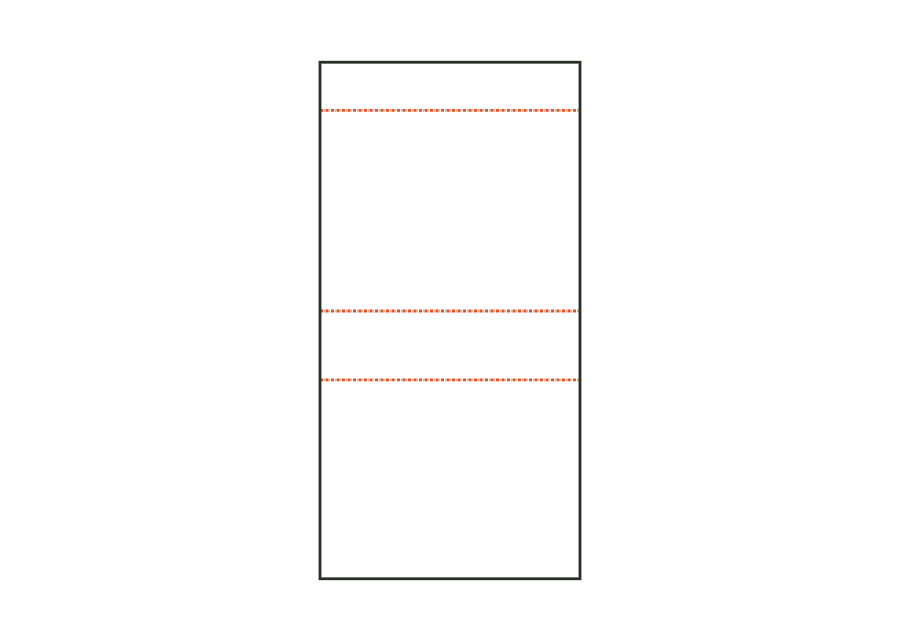
Grayboard hinged-lid case: bottom, spine with spine allowance, lid, and front flap in one strip with V-grooves, round magnet recess in the flap.
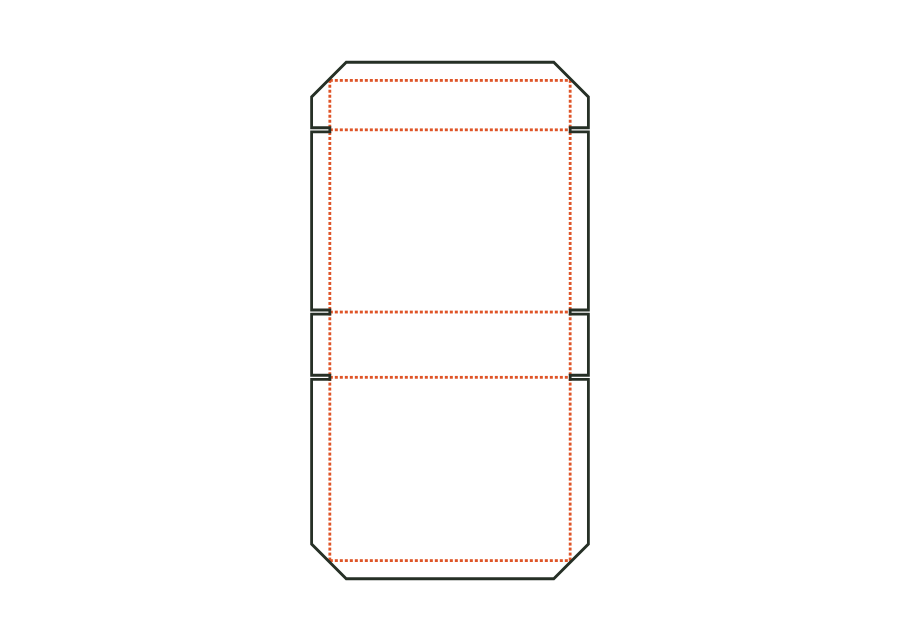
rigid.magnetic.coverView templateWrapping paper for the case: surface with turn-ins all around, corner cuts at 45°, and creases at hinge positions.
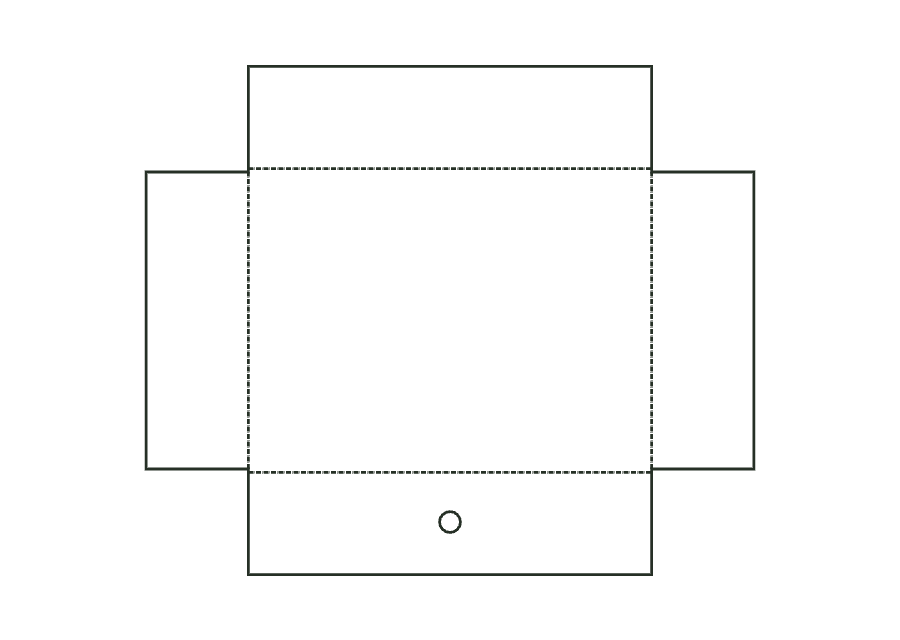
rigid.magnetic.cover.wrapView templateGrayboard tray with V-grooves and butt-jointed corners, with a round magnet recess centered in the front wall.
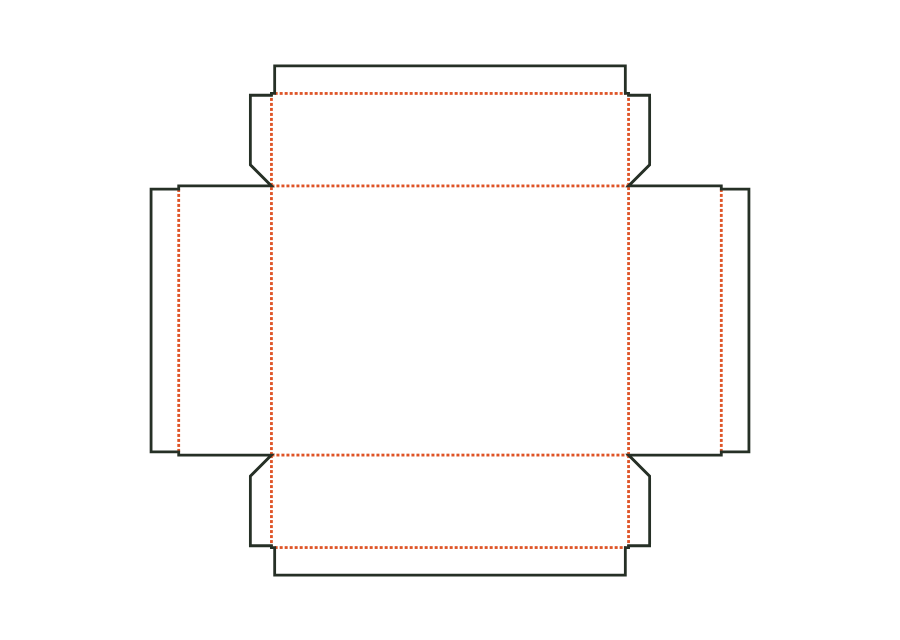
rigid.magnetic.trayView templateWrapping paper for the tray: cross with corner flaps and turn-ins; covers the magnet in the front wall.
rigid.magnetic.tray.wrapView templateWith JetDieline, choose a suitable template, adjust its size, and place text, logos, and images directly on your packaging.
Try your dimensions